

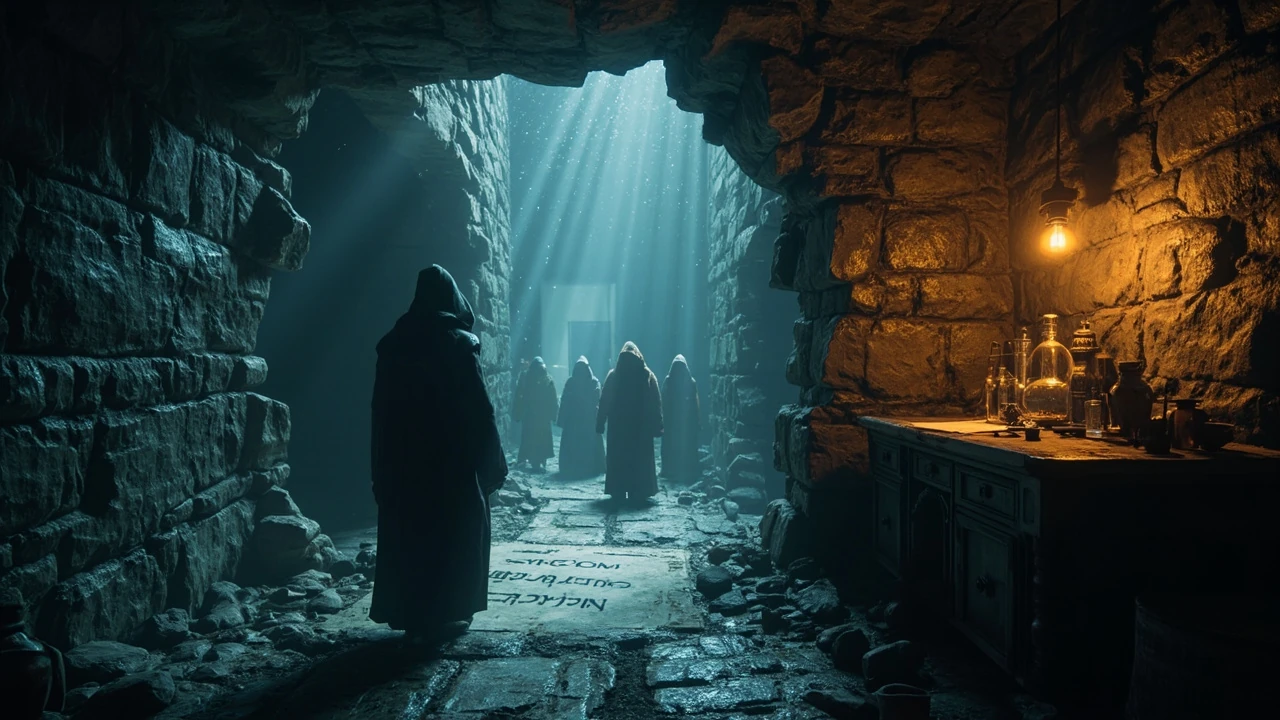

Seluvis questline: the safe route before Ranni moves on
The Seluvis questline in Elden Ring is easy to start and surprisingly easy to cut short. It sits inside Ranni’s much larger story, asks you to decide what to do with a dangerous potion, and eventually opens a small shop for puppet Spirit Ashes. The most important planning point is simple: finish the rewards you want from Seluvis before handing the Fingerslayer Blade to Ranni.
This walkthrough separates confirmed quest steps from optional choices. It does not assume that sacrificing Nepheli Loux is the “correct” solution. Players who want to preserve her quest can hand the potion to Gideon Ofnir and still continue with Seluvis. A third route involving the Dung Eater exists later in the game, but it closes part of his storyline, so it belongs in the decision table rather than in the default route.
The sequence below was checked against the current IGN walkthrough and Game8’s quest guide. Menu wording can vary slightly by platform and patch, but the quest triggers, items and lockout points are the same.
Before you start: unlock Three Sisters and meet Ranni
Seluvis’s Rise is in the Three Sisters area behind Caria Manor in northwest Liurnia of the Lakes. You do not reach it by riding around the manor cliffs. The normal route is through Caria Manor and the Royal Knight Loretta boss fight. Defeating Loretta opens the path to Three Sisters.
Go to Ranni’s Rise and agree to serve Ranni. On the lower floor, speak to the spectral forms of Blaidd, War Counselor Iji and Seluvis. Return to Ranni after those introductions if the tower door remains sealed, then leave and travel to Seluvis’s Rise, the tower southwest of Ranni’s Rise. Seluvis will now appear there in person.
- Clear Caria Manor and defeat Royal Knight Loretta.
- Enter Ranni’s Rise and accept Ranni’s request.
- Speak to the three spectral advisers downstairs.
- Visit Seluvis’s Rise and ask him for work.
Seluvis gives you Seluvis’s Potion and orders you to deliver it to Nepheli Loux. Receiving the potion is the real beginning of his personal quest. If he only offers dialogue connected with Nokron, finish the introductions in Ranni’s tower and speak to him again.
Choose who receives Seluvis’s Potion
Nepheli must first return to Roundtable Hold after the Village of the Albinaurics portion of her quest. When she is downstairs near Smithing Master Hewg, speak with her and then talk to Gideon Ofnir in his study. Gideon offers to dispose of the potion. This is the safest choice if you want to preserve Nepheli’s later quest and still advance Seluvis’s.
Giving the potion to Nepheli turns her into a puppet and prevents the normal completion of her storyline. The later Dung Eater option can produce a different puppet, but it requires progressing his quest until he is physically restrained in the Subterranean Shunning-Grounds. Giving him the potion also prevents the ending associated with his quest. Do not choose either character merely because a guide calls the puppet a reward; both choices remove other content.
| Recipient | Immediate result | Content you give up | Who should choose it |
|---|---|---|---|
| Gideon Ofnir | He disposes of the potion; tell Seluvis the delivery is done | No Nepheli quest content | Most first playthroughs |
| Nepheli Loux | Nepheli becomes tied to Seluvis’s puppet collection | Nepheli’s normal quest ending | Players deliberately collecting her puppet |
| Dung Eater | Unlocks the Dung Eater Puppet later | The Dung Eater ending route | Players planning this outcome in advance |
| No one yet | The potion remains in your inventory | Nothing, but Seluvis’s shop does not progress | Players who need time to decide |
After Gideon takes the potion, return to Seluvis and say that you completed the task. He accepts the answer and begins selling sorceries. Disposing of the potion through Gideon does not fail the Seluvis questline.
Find Seluvis’s hidden puppet cellar
The next step is not marked on the map. Search the ruined stone floor near Ranni’s Rise for an illusory floor. Attacking or rolling over the correct section reveals stairs leading into a cellar. Inside are motionless puppets and a message identifying the chamber as Seluvis’s private collection.
At the back of the cellar is another illusory wall. Strike it to reveal a hidden room containing a figure that resembles Sorceress Sellen. This room is relevant to Sellen’s separate quest, but discovering it does not force you to complete her storyline and does not resolve the question of her body by itself.
Return to Seluvis and select the dialogue that confronts him about the cellar. He attempts to make the discovery sound like an opportunity and offers one puppet. The normal initial choice is between the Finger Maiden Therolina Puppet and the Jarwight Puppet. Take whichever suits your collection; the other can become available for Starlight Shards after the puppet shop opens.
If the cellar dialogue does not appear, confirm that you finished the potion step and inspected the message in the cellar. Merely opening the stairs is not always enough. Walk through the chamber, examine the message and reveal the second hidden room before returning to the tower.
Open the puppet shop and trigger Seluvis’s scheme
Receiving the first puppet is not the end of Seluvis’s questline. Speak to him again and use the puppet dialogue until he offers additional puppets for Starlight Shards. According to Game8’s quest sequence, buying a second puppet is the trigger that exposes his larger scheme. If the dialogue about his plan does not appear, purchase another available puppet and reload the area.
Starlight Shards are limited pickups found at several stargazing monuments across the Lands Between. They are not a routine enemy drop, so avoid spending every shard before visiting Seluvis’s shop. The price and inventory shown depend on the puppet you selected first and on the recipient of the original potion.
Seluvis eventually admits that he wants to control Ranni and asks you to retrieve Amber Starlight. Agreeing to hear the plan does not immediately harm Ranni. The dangerous choice comes later, when Seluvis prepares the Amber Draught and asks you to administer it.
Retrieve Amber Starlight and claim the Magic Scorpion Charm
Amber Starlight is in a narrow, shaded ravine on the Altus Plateau near the Altus Highway Junction Site of Grace. It rests in front of a statue. The terrain makes compass-only directions unreliable, so use the map image in a current walkthrough if you cannot see the entrance from the road.
Bring the Amber Starlight back to Seluvis. He gives you the Magic Scorpion Charm, then prepares the Amber Draught. The talisman raises magic attack while lowering damage negation. It is valuable for spell-focused builds, but the defensive penalty matters; the item description and status screen show the trade-off directly.
The Magic Scorpion Charm is the reward most likely to be missed. If you advance Ranni far enough for Seluvis to die before completing the Amber Starlight exchange, the normal opportunity to receive it is gone for that playthrough. Collect the charm before giving Ranni the Fingerslayer Blade.
For the exact quest ordering and the consequences of each potion recipient, consult the Game8 Seluvis quest guide. It also documents the recovery route after angering Ranni.
Decide what to do with the Amber Draught
Trying to give the Amber Draught to Ranni is a hostile action. She recognizes what you are attempting and rejects it. Continuing the conversation can make her disappear and block normal progress in her quest until you use Celestial Dew for absolution at the Church of Vows. This is not a harmless extra dialogue scene.
If you care about Ranni’s quest, the practical route is to keep the Amber Draught and stop after obtaining the Magic Scorpion Charm. There is no essential reward for attempting the betrayal. You can then continue Ranni’s story normally.
If you deliberately choose the betrayal scene, have Celestial Dew available and know how to reach the Church of Vows. Absolution can restore the relationship provided the relevant NPC has not been permanently killed. It does not reverse unrelated quest decisions, such as turning Nepheli or the Dung Eater into a puppet.
The IGN Seluvis walkthrough covers the potion, hidden cellar, Amber Starlight and the point at which Ranni’s progress leaves Seluvis dead. Checking the whole sequence matters because guides that isolate only the Amber Draught step often omit the earlier puppet-shop trigger.
Finish Seluvis before the Fingerslayer Blade handoff
Ranni’s quest eventually sends you to Nokron, Eternal City, for the Fingerslayer Blade. Giving that blade to Ranni advances her story and is a common cutoff for unfinished Seluvis steps. Before the handoff, make sure you have collected the rewards you actually want.
- Resolve Seluvis’s Potion through Gideon, Nepheli or the Dung Eater.
- Reveal the hidden cellar and confront Seluvis about it.
- Choose the first puppet and open the Starlight Shard shop.
- Buy another puppet if needed to unlock the scheme dialogue.
- Retrieve Amber Starlight and receive the Magic Scorpion Charm.
- Buy any available sorceries or puppets you want now.
After Ranni’s story advances, Seluvis can be found dead in his tower. His body may still allow access to puppet purchases, but it should not be treated as a complete replacement for finishing the living NPC’s dialogue. The Magic Scorpion Charm in particular should be obtained beforehand.
A clean Seluvis questline run therefore has three checkpoints rather than one dramatic finale. First, settle the ordinary potion delivery without closing a character story you still want to see. Second, investigate the cellar and make at least one purchase from the puppet inventory. Third, complete the Amber Starlight exchange while Ranni is still waiting for the Fingerslayer Blade. Saving at those boundaries makes the consequences easier to understand, even though the game itself does not provide a traditional quest log.
Do not confuse the Seluvis questline with Seluvis’s smaller role in the search for Nokron. During Ranni’s investigation, he can provide an introduction for Sorceress Sellen, who explains the connection between Radahn and Nokron. That exchange helps Ranni’s objective, while the potion and Amber Draught belong to Seluvis’s private scheme. The same NPC participates in both threads, but completing one does not automatically complete the other.
For a first playthrough, the lowest-risk Seluvis questline order is Gideon, cellar, first puppet, second puppet, Amber Starlight, Magic Scorpion Charm, then the Fingerslayer Blade. The order preserves Nepheli and Ranni while still exposing the full scheme. A later character can explore the Nepheli or Dung Eater puppet branches without sacrificing those stories on the original save.
Seluvis rewards and the choices behind them
The quest rewards are spread across several interactions rather than delivered in one final bundle. That is why a player can believe the quest is finished after opening the sorcery shop and still miss most of its unique content.
| Reward or unlock | Requirement | Main caution |
|---|---|---|
| Seluvis’s sorcery shop | Resolve the first potion request and report back | Keeping the potion unresolved stalls this step |
| Finger Maiden Therolina or Jarwight Puppet | Find the cellar, confront Seluvis and choose one | The spelling is “Jarwight,” not “Jarwright” |
| Additional puppet purchases | Take the first puppet and spend Starlight Shards | Inventory depends on earlier choices |
| Dung Eater Puppet | Give the potion to the restrained Dung Eater and continue the puppet steps | Ends his normal quest route |
| Magic Scorpion Charm | Unlock the scheme and return Amber Starlight | Obtain it before advancing Ranni too far |
| Preceptor armor and Bell Bearing | Loot Seluvis after his death | These are end-state drops, not the charm |
There is no single choice that collects every narrative outcome in one playthrough. Gideon’s route preserves Nepheli but does not create her puppet. The Dung Eater route provides a powerful summon but abandons his ending. Treat the decision as a save-file preference rather than a hidden test with one correct answer.
Troubleshooting a stalled Seluvis questline
If the Seluvis questline stops moving, check the most recent trigger instead of repeating every conversation. Most stalls come from Ranni’s introduction, the unresolved potion, the cellar message or the missing second puppet purchase.
Seluvis’s Rise is sealed. Defeat Royal Knight Loretta, accept Ranni’s service and finish speaking with the spectral advisers in Ranni’s Rise. The tower is linked to Ranni’s introduction, not to a key in your inventory.
Nepheli will not take the potion. Her location and personal quest state matter. Continue through the Village of the Albinaurics, then look downstairs at Roundtable Hold and speak with Gideon. If you intend to preserve her story, let Gideon dispose of the potion.
Seluvis will not discuss puppets. Finish the potion report, find the hidden cellar, inspect its message and reveal the hidden room. Return to Seluvis and exhaust the new dialogue.
The scheme dialogue is missing. Take the first puppet, reopen the puppet shop and purchase another puppet with Starlight Shards. The additional purchase is an often-missed trigger.
Seluvis is already dead. You advanced Ranni’s quest beyond the safe point or attempted the Amber Draught sequence. Check his body for remaining interactions and loot, but do not expect to recover every missed reward. If the Magic Scorpion Charm was not obtained, a new playthrough or player trade may be required.
Ranni no longer speaks to you after the draught. Use Celestial Dew at the Church of Vows to request absolution. This repairs hostility caused by the attempt; it does not rewind all quest choices.
Frequently asked questions
These answers cover the decisions that most often interrupt a Seluvis questline run.
Can I finish the Seluvis questline without harming Nepheli?
Yes. Give Seluvis’s Potion to Gideon Ofnir at Roundtable Hold. He disposes of it, and you can report the task as complete to Seluvis. His sorcery and puppet progression remains available while Nepheli’s normal quest stays open.
Should I give Seluvis’s Potion to the Dung Eater?
Only if you specifically want the Dung Eater Puppet and are willing to abandon his ending route. The option appears much later than Gideon’s and Nepheli’s choices, after the Dung Eater reaches his restrained state beneath Leyndell.
Where is Seluvis’s hidden cellar?
It is beneath an illusory floor in ruins near Ranni’s Rise in Three Sisters. Reveal the stairs, inspect the puppet chamber and strike the illusory wall at the back to uncover the additional room.
Why is Seluvis not selling puppets?
You must resolve the potion task, discover the cellar, confront Seluvis and accept the first puppet. Reopen his dialogue after that. Additional puppets cost Starlight Shards and the available list reflects the choices made with the potion.
How do I get the Magic Scorpion Charm?
Open the puppet shop, buy another puppet to trigger Seluvis’s scheme, retrieve Amber Starlight from the Altus Plateau and give it to him. He rewards you with the Magic Scorpion Charm before asking you to deliver the Amber Draught.
Should I give the Amber Draught to Ranni?
Not on the safe route. Ranni recognizes the betrayal, and the attempt can interrupt her quest until you seek absolution with Celestial Dew. Keeping the draught does not prevent you from continuing Ranni’s story after collecting Seluvis’s earlier rewards.
When does the Seluvis questline become unavailable?
The key practical cutoff is Ranni’s Fingerslayer Blade handoff. Complete the puppet steps and collect the Magic Scorpion Charm before giving Ranni that blade. Advancing her story can leave Seluvis dead in his tower.
Can I still use Seluvis’s shop after he dies?
His body can retain puppet-shop interaction, and his Bell Bearing and Preceptor armor can be collected. That does not guarantee recovery of every earlier quest reward, so finish the Amber Starlight exchange while he is alive.
Is Sorceress Sellen required for this quest?
No. Sellen connects to Ranni’s Nokron investigation and appears visually in Seluvis’s hidden area, but her full personal quest is separate. You do not need to finish Sellen’s storyline to obtain the Magic Scorpion Charm.
Leave a Reply